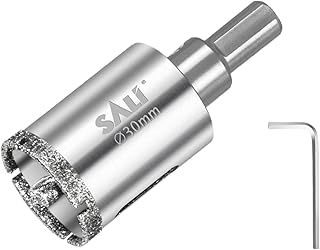
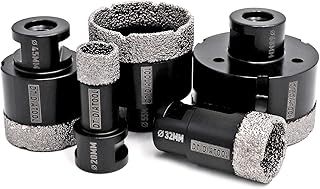
Top 10 Diamond Hole Cutters For Tiles
Last update: 12-07-2026
Best Drills & Bits overall →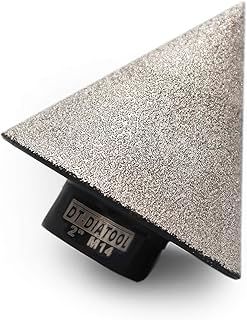
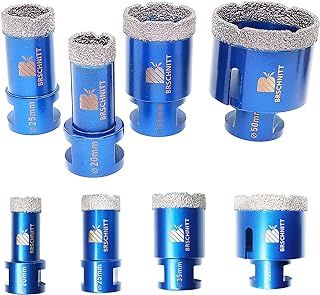
Diamond Hole Cutters For Tiles: 3 things to consider before buying
Match the bit to your tile before anything else
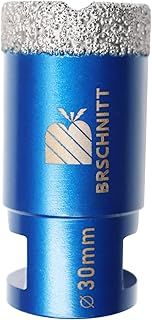
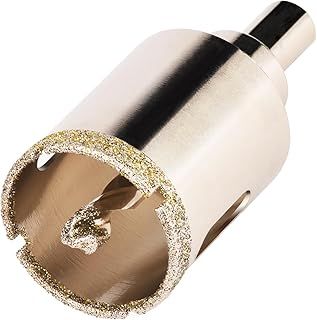
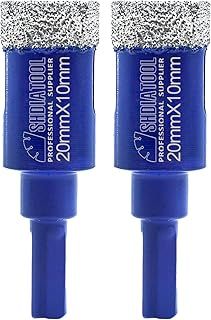
Soft glazed ceramic drills fine with a basic diamond or carbide-tip bit. Dense porcelain and natural stone are another matter. Push a cheap bit through porcelain and you will burn it out fast, so those tiles want a proper diamond hole saw. If any tile in the job is porcelain, buy for the porcelain and use it on the ceramic too.
Decide wet or dry before you buy, not halfway through the hole
Dry vacuum-brazed bits are quick and handy for the odd hole with no water rig to set up. Water cooling gives you a cleaner cut, keeps the dust down, and stretches bit life a long way on hard porcelain. For anything over about 25mm, or on thick slabs, plan to drill wet from the start.
Size the kit to the holes you actually drill
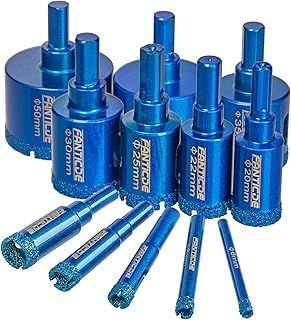
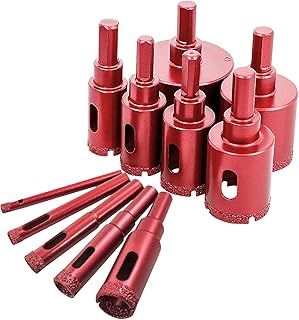
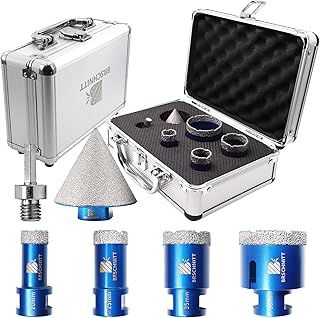
Most kits run somewhere around 6 to 50mm. In practice the holes people drill are 6 to 8mm for wall-plug fixings and roughly 35mm for bathroom pipework and shower valves. Pick a set that brackets your real sizes. Buying the widest range going, just because it is wide, rarely earns its keep.
Frequently Asked Questions
Can I drill porcelain tiles with a normal drill bit?
Do I need to use water when drilling tiles?
Why does my diamond bit keep overheating or stop cutting?
What size hole cutter do I need for bathroom pipework?
Can I use these bits in a cordless drill?
How long should a diamond hole cutter last?
Should I buy a multipack set or a single bit?
How do I stop the bit slipping on the shiny tile surface?
Your complete guide to Diamond Hole Cutters For Tiles
Ceramic or porcelain? Start here
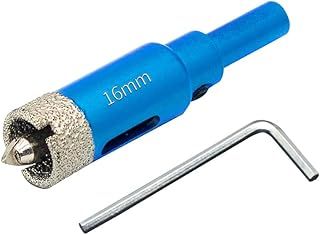
What your tiles are made of decides almost everything else. Glazed ceramic is relatively soft, and a spear-point carbide tip or a basic diamond bit will get through smaller holes without much drama. The tip helps the bit bite instead of skating across the glaze. Porcelain is a different job altogether. It is dense and genuinely hard, so you want a diamond bit that grinds its way through rather than a tip that tries to punch it. That grinding action is what gives clean holes on tough finishes, where a cheap bit just overheats and glazes over. Drilling a mix, or not sure what you have? Treat the lot as porcelain and buy accordingly. Under-buying at this stage is the usual reason people crack tiles and get through three bits on a single bathroom.
Wet vs dry drilling
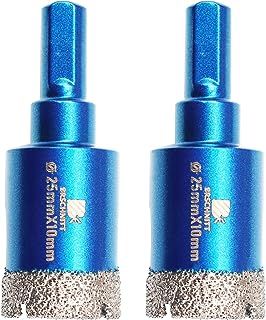
Dry vacuum-brazed bits have become the default for a lot of people because they are convenient. No water rig, quick holes for a towel rail or a toilet bolt, and they work straight out of the pack. The catch is heat. Drilling dry always shortens the life of any bit, throws up more dust, and raises the risk of cooking the tile. Water cools the diamonds, clears the debris, and gives a noticeably cleaner cut. Most tilers land on the same rough rule: even when a bit is sold as wet or dry, use water when you can, and always use it on porcelain and on anything larger than about an inch. On thick tiles over 10mm, a small dam of putty or tape holding a few millimetres of water over the hole keeps the segments cool and slows the wear right down.
Cheap multipack or a single quality bit?
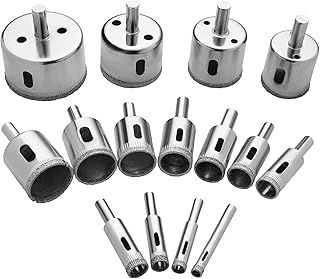
The 15-piece sets that dominate this category earn their place if you are doing one or two projects and want a spread of sizes to hand. They are cheap and they cover the odd fixing hole perfectly well. Repeated drilling in hard porcelain is where they come unstuck. Budget electroplated bits go slow and burn out quickly on dense material, so across a whole bathroom they can cost you more in ruined tiles and wasted time than one good bit would. A decent vacuum-brazed bit can manage roughly 15 to 30 holes in dense porcelain with proper cooling, and brazed construction is built to outlast electroplated by a wide margin. So the split is simple. One-off job, a set is fine. Full bathroom or regular porcelain work, buy a good single bit in the size you reach for most.
Technique and drill compatibility
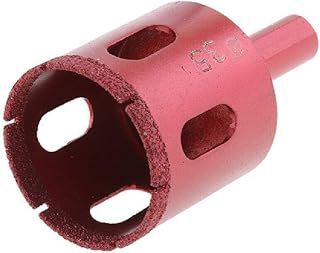
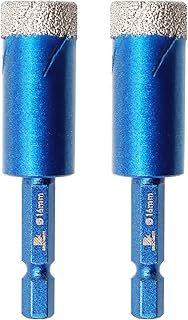
The bit only does half the work. Run a variable-speed drill in rotary mode, never hammer or impact, because it is the impact vibration that cracks tiles. Mark your spot and cover it with masking tape so the bit does not wander on the glaze. Start at a slight angle, around 45 degrees, to score a seat, then bring the drill upright to 90 degrees once it has bitten. Keep the speed modest, somewhere near 400 to 600 RPM, with light steady pressure, and let the diamonds do the cutting. One compatibility point worth knowing: large M14-shank bits are made for angle grinders and run too slowly in a cordless drill, which shortens their life. Straight-shank and hex-shank bits are the ones that suit a standard drill.